This year everything started with a lot of excitement and ended with a crash. Literally. The garden had been going well and kept me busy all summer until my participation came to a halt on August 23 when I fell from my horse. My injuries kept me out of the garden the remainder of the season. With a fractured left hip and right clavicle, I had surgery on the hip which kept me in a wheelchair for 11 ½ weeks before I could walk again. I couldn’t use crutches or a walker because of the injured clavicle, and because of the nature of the fracture, the doctor felt it best that I stay off the leg until the bone was quite healed. Four months after the injury it is still difficult to walk, but I’m slowly improving.
Needless to say, the timing wasn’t helpful for the garden. It was just about time to harvest most of what had been growing all summer. For two weeks after the accident, I was in the hospital & then rehab, and Tim was doing all the necessary house and ranch chores before and after driving nearly 4 hours round trip to visit me each day. During this time there was limited time for Tim to do all the chores, so some things were left behind. At one point we called a few neighbors to stop by and help themselves to whatever looked good in the garden. We just couldn’t deal with it all.
Besides not being able to harvest everything when we should have, I was unable to cook or preserve things as they came in. Some things were easy to pull up and put in storage, like the root vegetables. Then there was lettuce, cabbage, kale, chard and broccoli, which I was able to help with indoors after Tim harvested them. Later there were beans, peas, squash, potatoes, carrots, onions & garlic. Then there was all the fall bed cleanup and preparation for winter to do.
In addition to the outdoor garden, the greenhouse had been planted with tomatoes, peppers, some squash and a few other odds & ends I thought would do better inside than out. Tim was picking tomatoes and bringing them to me at rehab to add to my meals, which was nice. Before the accident I had started some seedlings to grow in the greenhouse in the fall, and Tim was able to get them planted while I was in rehab.
Tim did all of this without my help, which put a lot of his projects on the back-burner. He was great, and did it all! I did a lot of sofa supervision, at times with the help of our iPads. Tim would take his iPad to the garden, walk around and show me things on Facetime, and I’d be able to tell him what to do out there. That came in pretty handy!
It was a crazy time for us. I realized I just had to let go of wanting to reap all the benefits of my garden work. Some of the vegetables weren’t harvested in time, and were inedible. Many things were given to the ducks. At least I had the fun of planning & planting this year, and sometimes I think that’s just as enjoyable as the eating. I know, I’m weird.
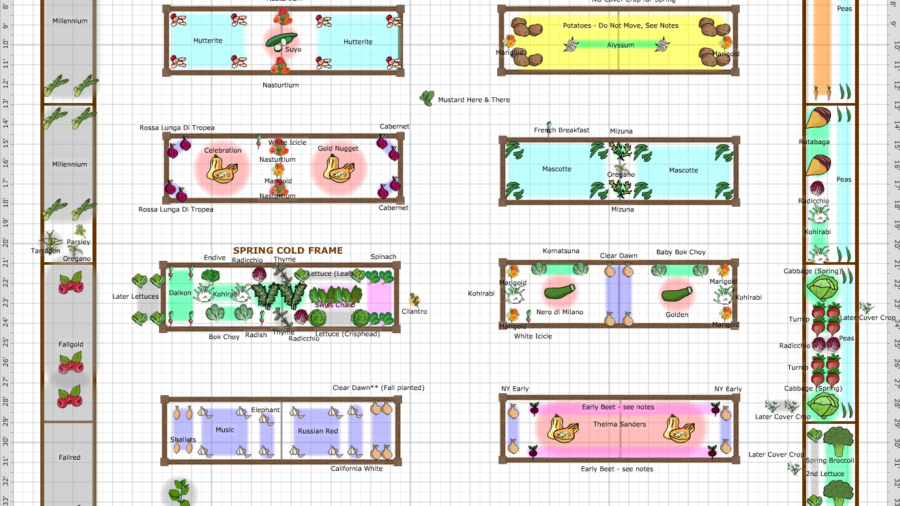
2018 GARDEN PLAN

For 2018 I had decided to grow more of what grows well in this climate and nix some of the things that didn’t do so well in 2017. A few things I was determined to try again and I did so, like cauliflower. That was a bust. Some things didn’t do as well this year as they had in 2017, and I’m not entirely sure why. For the most part, things did not mature as quickly as the previous year. On the average, it was a bit warmer this summer, with less rainfall, which meant more watering on our part.

One thing I did differently this year was that I kept the shade cloth over the beds all summer. I didn’t roll it up on the nice days like I had done the previous year. On one occasion, the hail would have ruined everything had the shade cloth not been there. Perhaps less sunlight was responsible for the slower growth of plants this year, so next year I will allow more sunshine in by raising the shade cloth on days I don’t expect hail, and see if that helps things grow more quickly.
Some of the info about various things grown will be on the individual veggie pages.
On a personal note: Sadly, and with a lot of prayer and thought, we decided to sell our horses. We decided we are getting older, our bones are more brittle, and we decided it is not worth the risk to continue riding. We don’t want to keep “pasture ornaments” that won’t be used, so they were sold to some people who will be able to continue riding.


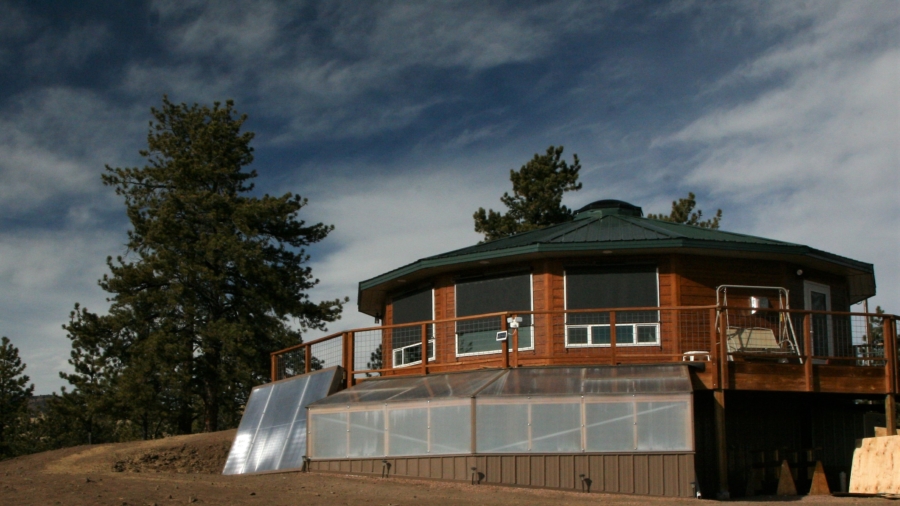


 Since our first successful winters with the greenhouse, we have since made some improvements to the heating system. The concrete floor, the soil and the pond (which holds about 200 gallons of water) all provide thermal mass storage. When the greenhouse was planned and built, we installed radiant in-floor heating, to be heated with water from our solar collector. Over time, we determined that this was not necessary. The concrete floor and the soil beds stay plenty warm without the in-floor heat, but what needs more warmth overnight and on the coldest days is the air. This past year Tim purchased and installed a used wall heater which uses the hot water from our solar collector as its heat source. This has worked quite well to keep the greenhouse warm overnight most nights, and we have an electric space heater to add additional warmth on the coldest of nights, when it has been too cloudy to heat enough water with the sun. Tim has these all set on with thermostat sensors and computer programs that turn everything on and off as needed. Good to have a geeky guy around! We also no longer put up the insulation over the glazing each night, which was labor-intensive and not all that helpful.


 In general, almost everything took longer to reach maturity than expected. For instance, I picked the very first, 55-day tomato on day 74. I finally harvested the “100 day” onions, even though they could have had more growth, on about day 150 and later. Since the tops never really fell over on their own, they’re not curing properly, and they won’t last long in storage. Many other things took a lot longer than expected as well. I will detail those along with my observation of each vegetable family.


 At least, we haven’t seen evidence of them burrowing through it. Our second line of defense against these guys will be a layer of stucco netting, which is a LOT cheaper than the hardware cloth which is often recommended as protection from ground squirrels. Any long roots should still be able to penetrate both the stucco netting and the rocky bottom. Additionally, just to the inside of the perimeter beds, there will be a layer of plastic lining the walkway, to keep both the weeds and the squirrels out.
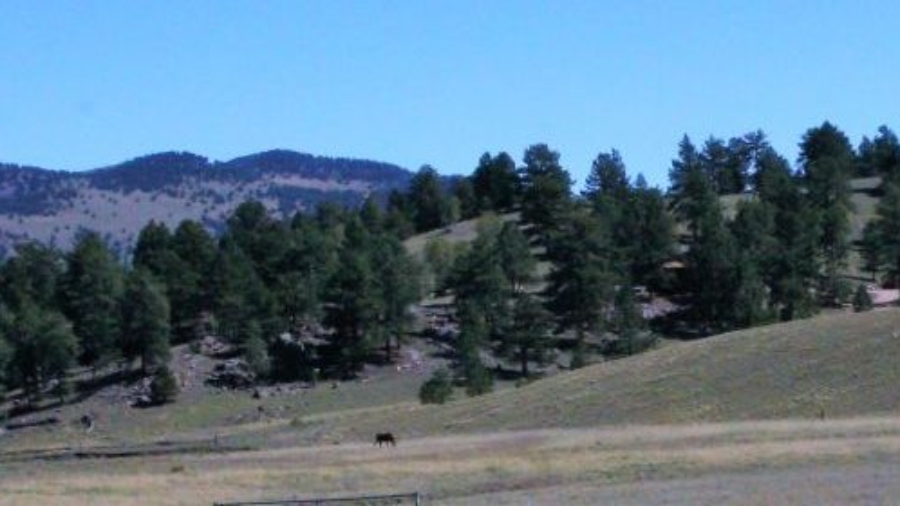
 This is a shot of the garden site, the morning of April 19, 2017. Although we have 40 acres, most of which is pretty flat with no trees, we are placing the garden here, in a protected spot from wind, and where plants may get a little shade in the afternoons. The area gets full sun from the E-SE all morning into early afternoon. We feel this site will be best, to protect them from the full effect of the intense sun at our elevation. It is also relatively close to the water hydrant. Tim has begun clearing the area and is building the raised beds. The garden itself will be 41 x 35 feet in size, a little over 1400 square feet. The actual planting bed space will be 740 square feet. There is some slope on this site, so it will be terraced a bit along that slope. The entrance to the garden will be wide enough for the tractor to fit through, which has been and will continue to be a big help. The beds will be filled with a soil combination of natural soil, well-aged horse manure, used duck bedding, some additional organic matter and compost.
 In addition to planning the physical garden, Tim has put together a potting bench area and grow lights under the house in our crawl space. It’s not real pretty down there, but functional. The sink and potting area are helpful for me to mix and prepare the soil blocks I use to start seedlings. Under these lights, I already have started several things; mostly greens for the cold frame section which will be planted mid-May, onions and a few other things which take a long time to get started. The lights can be raised as the plants grow. If necessary, we have more lights that can be placed on the lower side of this bench. (See more about my soil block approach
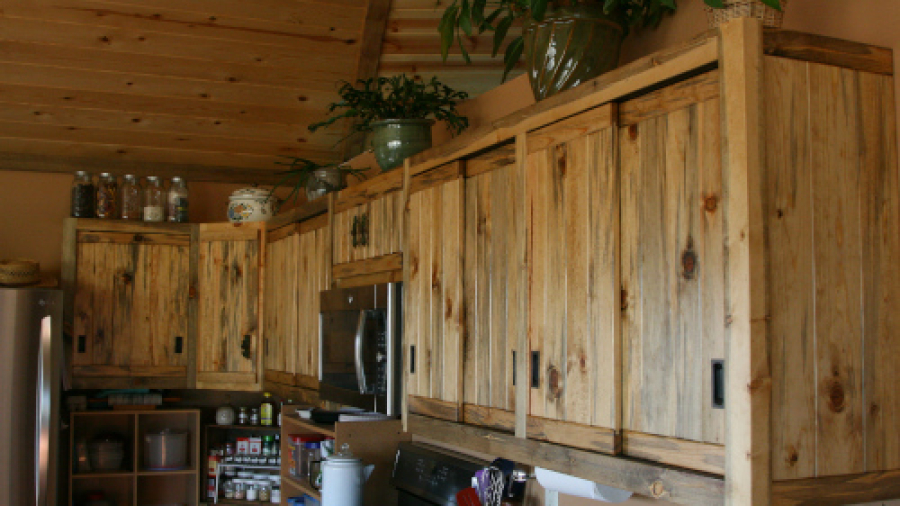
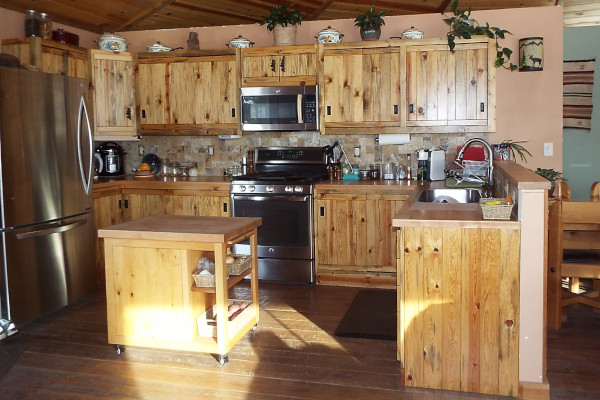
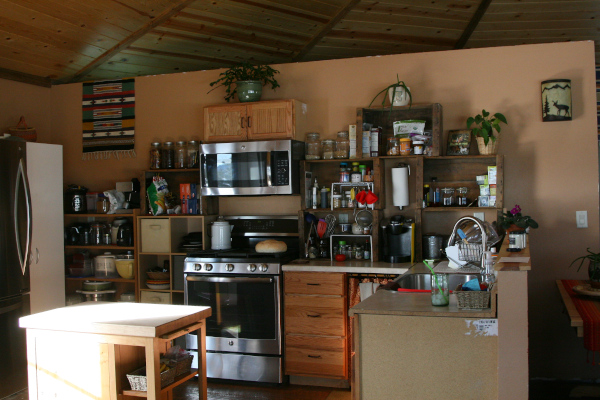 After functioning quite well with our temporary kitchen, we’re finally getting around to making the custom kitchen that we have envisioned for so long. Before that could begin, however, I had to get my workshop in good working order. This included adding heat so I could work regardless of the weather, purchasing some vitally needed tools for making the cabinets (yes, they really were necessary) and spending some time implementing good dust collection. There is a lot of sawdust generated in woodworking and now is not the time to ignore good health and safety practices. So, now that the shop is in pretty good shape … let the cabinet making begin!
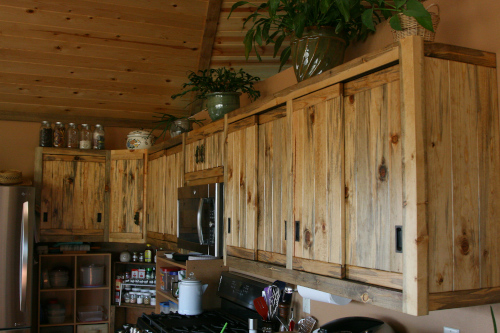

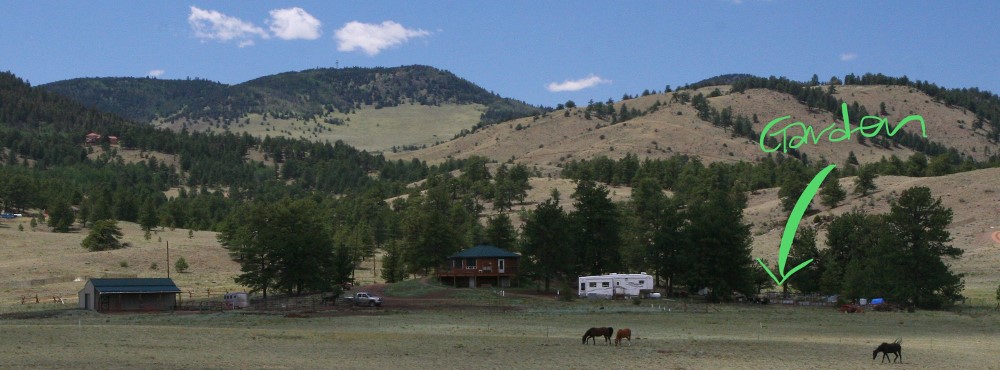
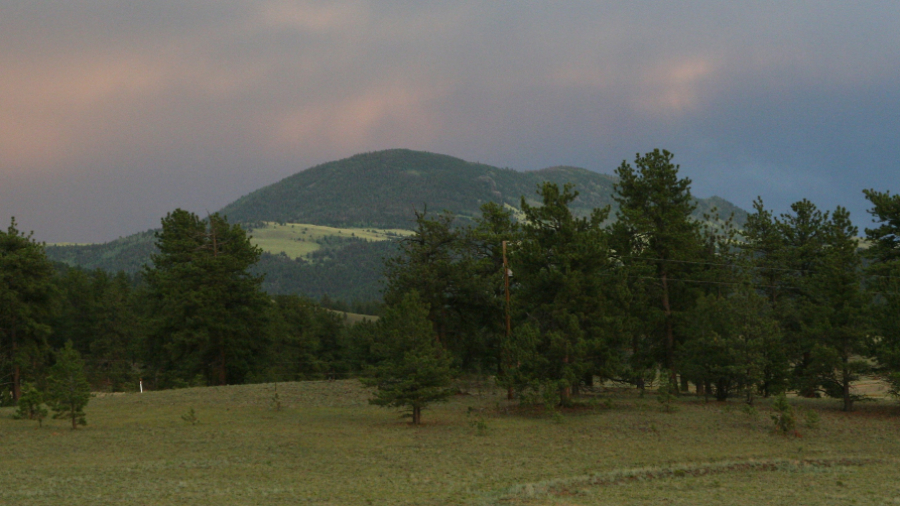
 Here’s where the garden will go. This photo was taken