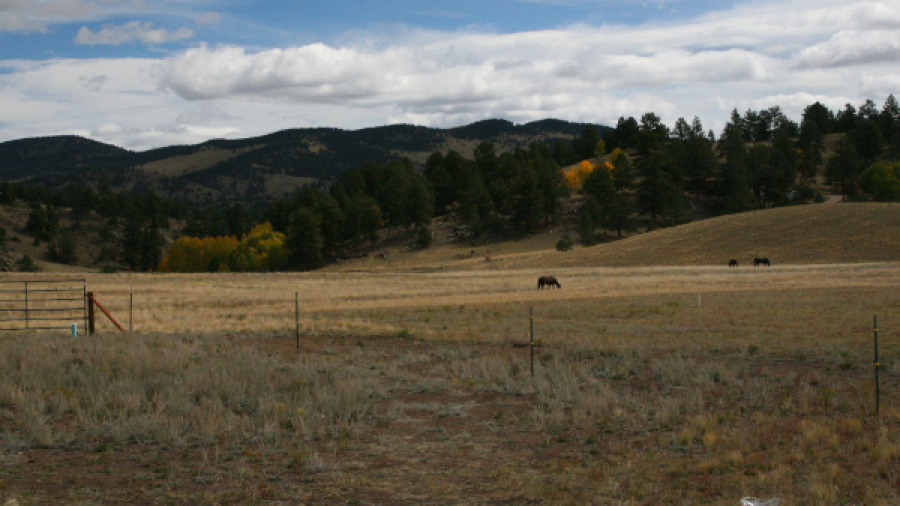
We’ve begun planning for our new garden, which should be well in place and ready to go in Spring and Summer 2017. We have been reading up on high-altitude gardening, looking for information about what to grow, where to grow it, when to start and how to do it. We want to know what to plan on and what to be prepared for.
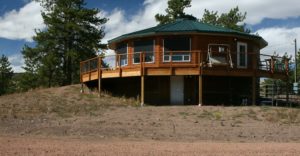
Conventional thought suggests that gardens should be on the south side of the house in full sun. That’s what all the books & websites will tell you, right? So, this is where it was going to be–beds primarily in front of the house (facing south) and terraced down on the left (west) side of the house. The greenhouse is planned to be in front of the deck on a southeast section.
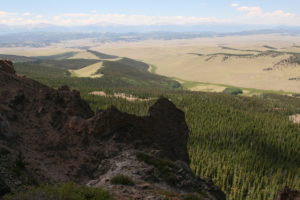
However, after observing what the summer conditions have been like our first two summers here, and reading of some of the challenges faced by other Colorado Rocky Mountain gardeners, we’ve changed our opinion and won’t be putting the garden directly on that south facing slope. We also have observed that on most of the slopes around here, the south facing sides are often quite barren of trees and vegetation, while the northern facing slopes are lush and green. The photo on the right shows several north-facing slopes full of vegetation and little on the south sides. Shouldn’t we pay attention to that?
We have decided to place the garden northeast of the house with some trees around to provide afternoon shade. Although the summer temperatures don’t get incredibly high (85 is a rare, hot day here) the intense sun bakes the vegetation, and it has less of a chance to survive. Also, when the winds pick up it dries out the soil quickly, and would do so in front of our house where it is so exposed. At the east it will be a bit protected from the brunt of the wind.
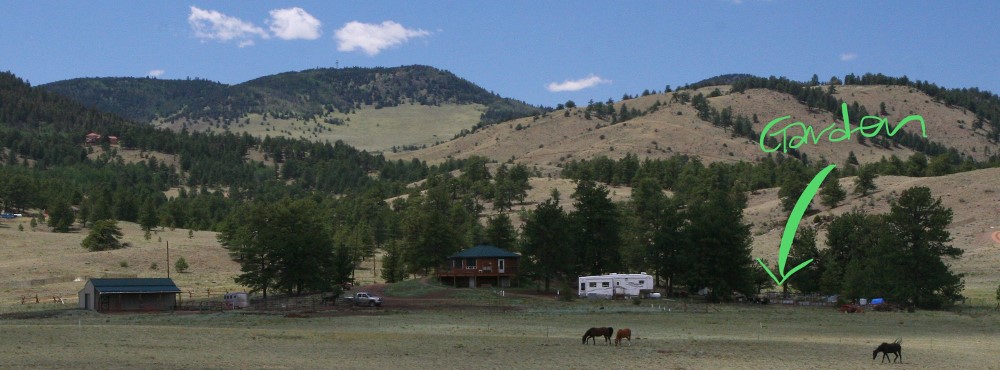
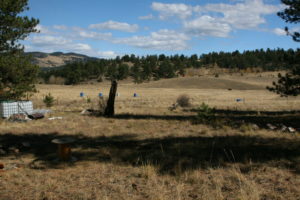 Here’s where the garden will go. This photo was taken on an October afternoon, so there won’t be as much shade in the summer as there is in the photo, when the sun will be higher in the sky. Our garden will get full morning sun and filtered light in the late afternoon. Things that require the most sun will be in the sunniest spots, as much as possible, keeping crop rotation in mind.
This garden won’t be nearly as large as our previous garden, probably less than half that size. (That garden was about 24 beds, about 1400 square feet of planted surface.) We’ll grow a lot of cool season vegetables, and as many short-season varieties of summer vegetables as we feel we can, including some tomatoes. We’ll have to be especially careful to cover the tomatoes nightly, as they’ll need all the warmth they can get. We will be making hoop covers to guard against frost as well as shade/hail covers to guard against the intense sun and occasional hail. Of course, we will have a 7-8 foot fence surrounding the entire garden, lest the deer get into an all-you-can-eat buffet.
I’ve been gathering weather statistics from our weather station the past two summers. Here are my stats for July-August, 2015 & 2016.
The morning “lows” ranged from 34-51F.
The afternoon “highs” ranged from 52-92F.
In those two years, there were only 7 days with lows of 50 or more. In those same years there were 6 days with highs of 90 and up–all of those were 2016; in 2015 there were none. The average all-day temperature for the summer months has been 59-64F. So, as you can see, many of the plants will require frequent covering, to prevent being too cold in the morning and too hot in the afternoon.
It’s fun to get into gardening mode again. Now that the garden site has been chosen, we have lots of designing and planning to do, and the work will be rewarding.


 With these cold temperatures the water does freeze, and winter adjustments need to be made. There are different ways of keeping the water liquid. My best solution is to keep a water heater in the bowl. It is on a timer, and usually turns on around 3am, so they will have water to drink in the morning. I turn it on occasionally during the day if the water is freezing, just for an hour or two off and on. The timer we have makes it easy to adjust like that. We keep our bowl on a raised platform over a hole in the ground, covered with hardware cloth. Normally the water will slowly drain from the hole into the earth. In winter this hole fills up with ice and never melts, so I need to be careful to empty the bowl without spilling more water into (onto) this hole. Recently I got out the flame thrower, melted the ice under the bowl as much as I could without burning the frame, then raised the bowl off the frame with an additional support to keep it from freezing onto the frame. I’ve found it’s helpful to keep all snow cleared from around the bowl as soon as possible. If not done, it quickly ices up and makes it nearly impossible to lift the bowl for emptying and refilling.