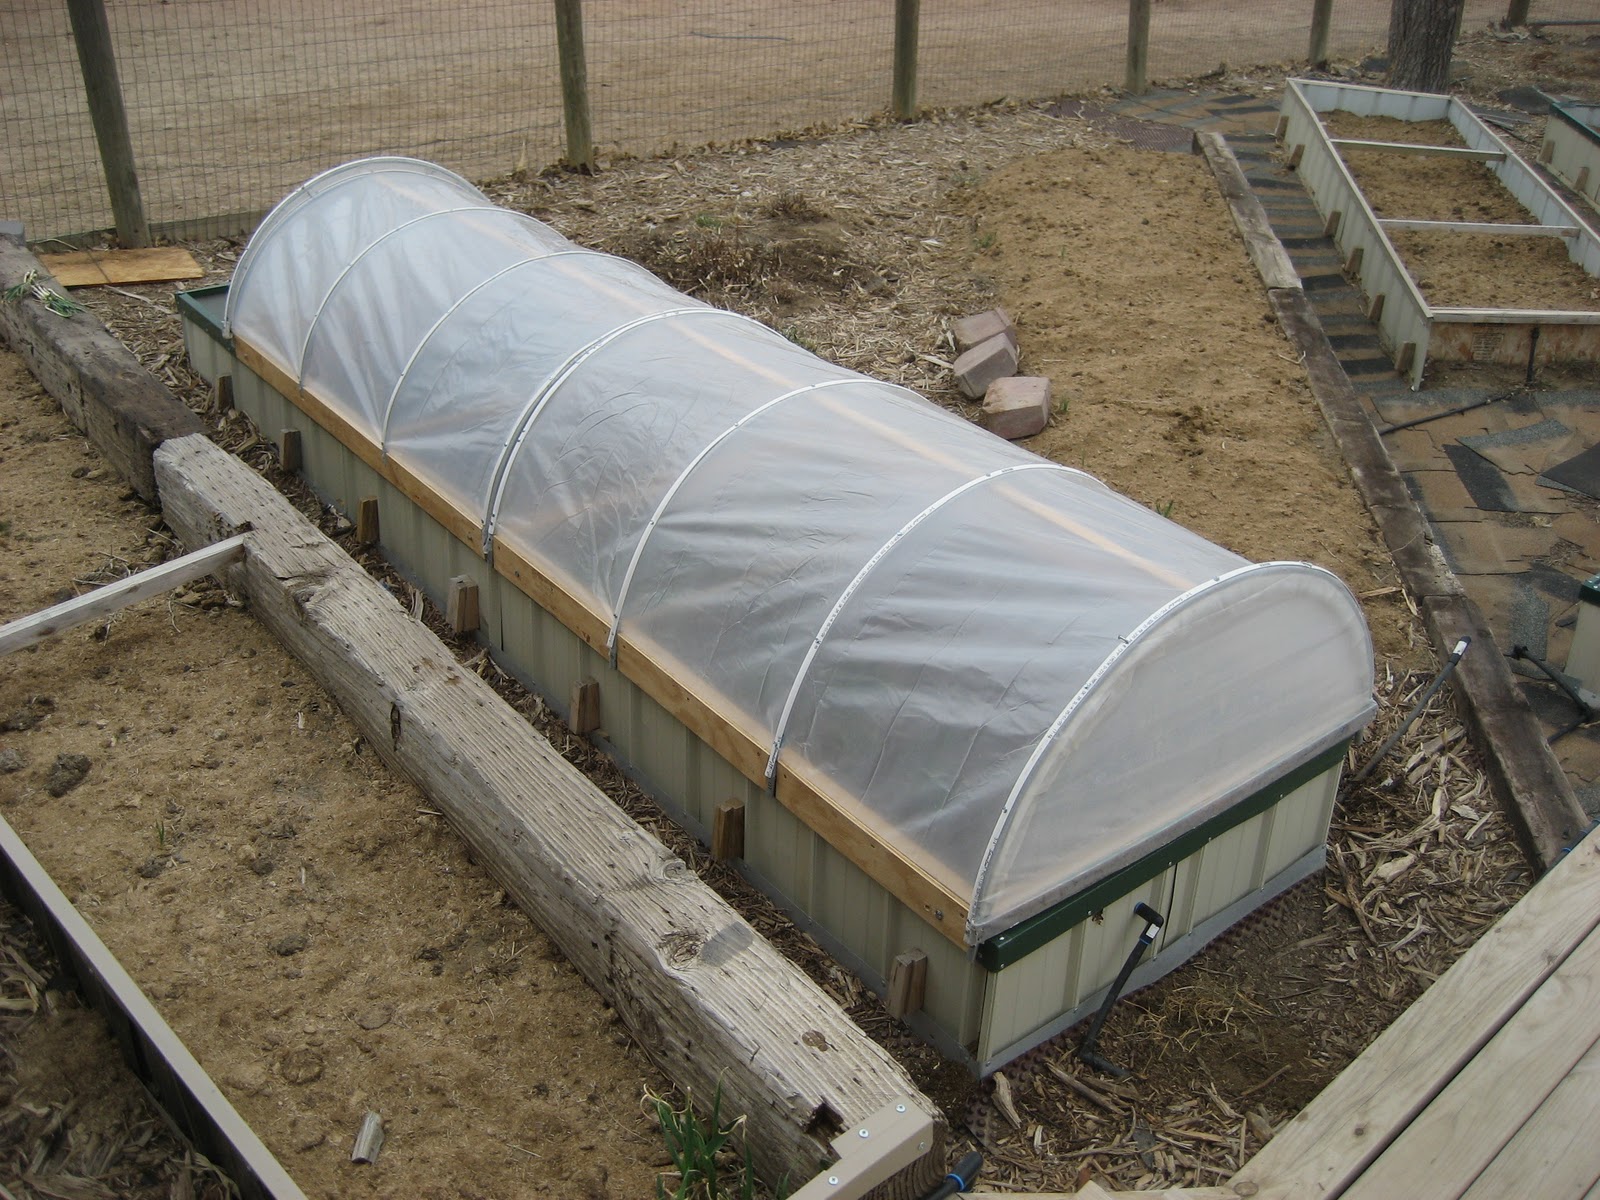
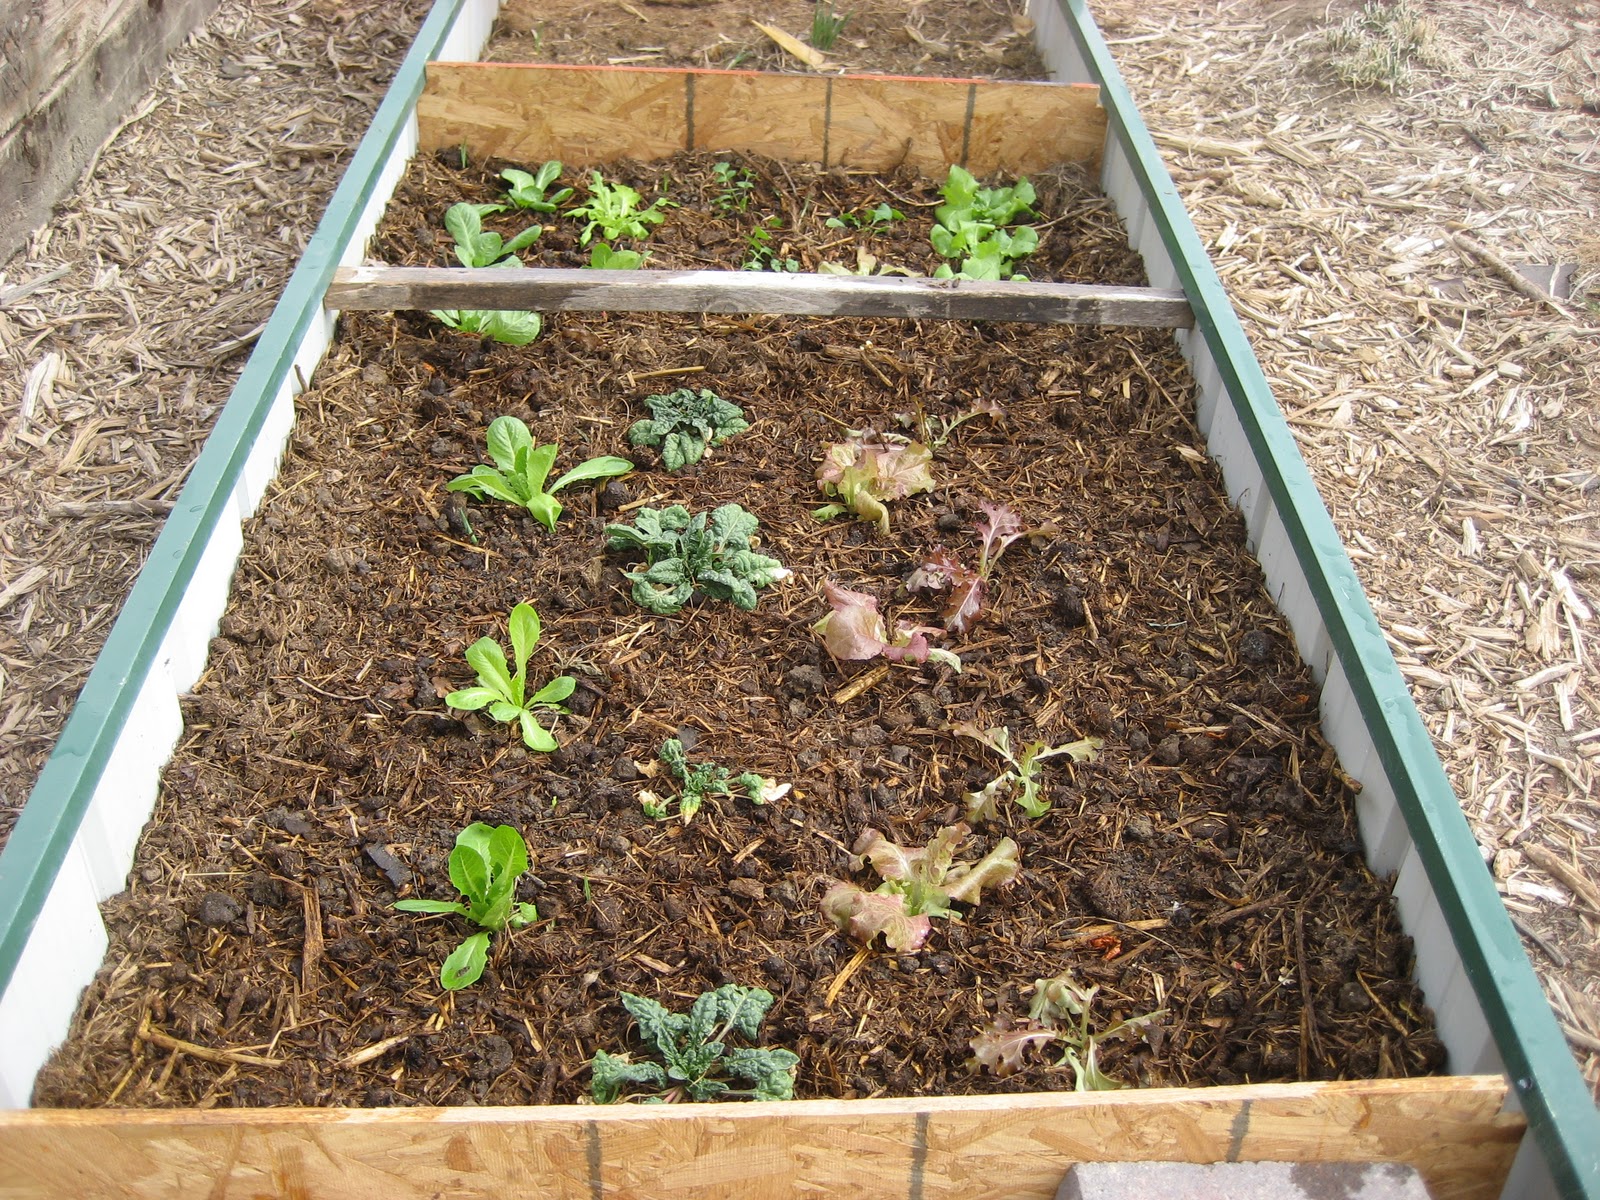
Seedlings: The indoor seedlings are doing well! This week I transplanted all the peppers and tomatoes from the MINI blocks into their MAXI blocks, and they’re taking off. A few more seeds were sown for basil & other herbs and some marigolds. The beets I’d started were transplanted to the cold frame about 2.5 weeks after sowing inside. This is one of the things “not recommended” to start indoors, but as with many things, in the blocks I’ve found it’s fine to give them a quick start inside and saves time and wondering which or how many will germinate.
Ducks: Our order was delayed due to high volume of orders, and we weren’t able to get the ducklings the first week of April as we’d hoped. We’ll be getting the duckling delivery the first week of June. We’re really looking forward to getting the little buggers. We’ll have plenty of time to focus on the garden and other things before we get the ducks, and it’ll be warmer more consistently later on, so they may be able to get outside in less time after we get them.
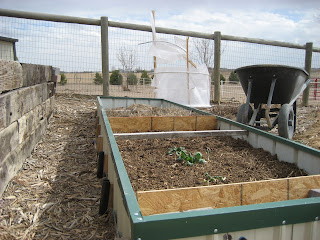
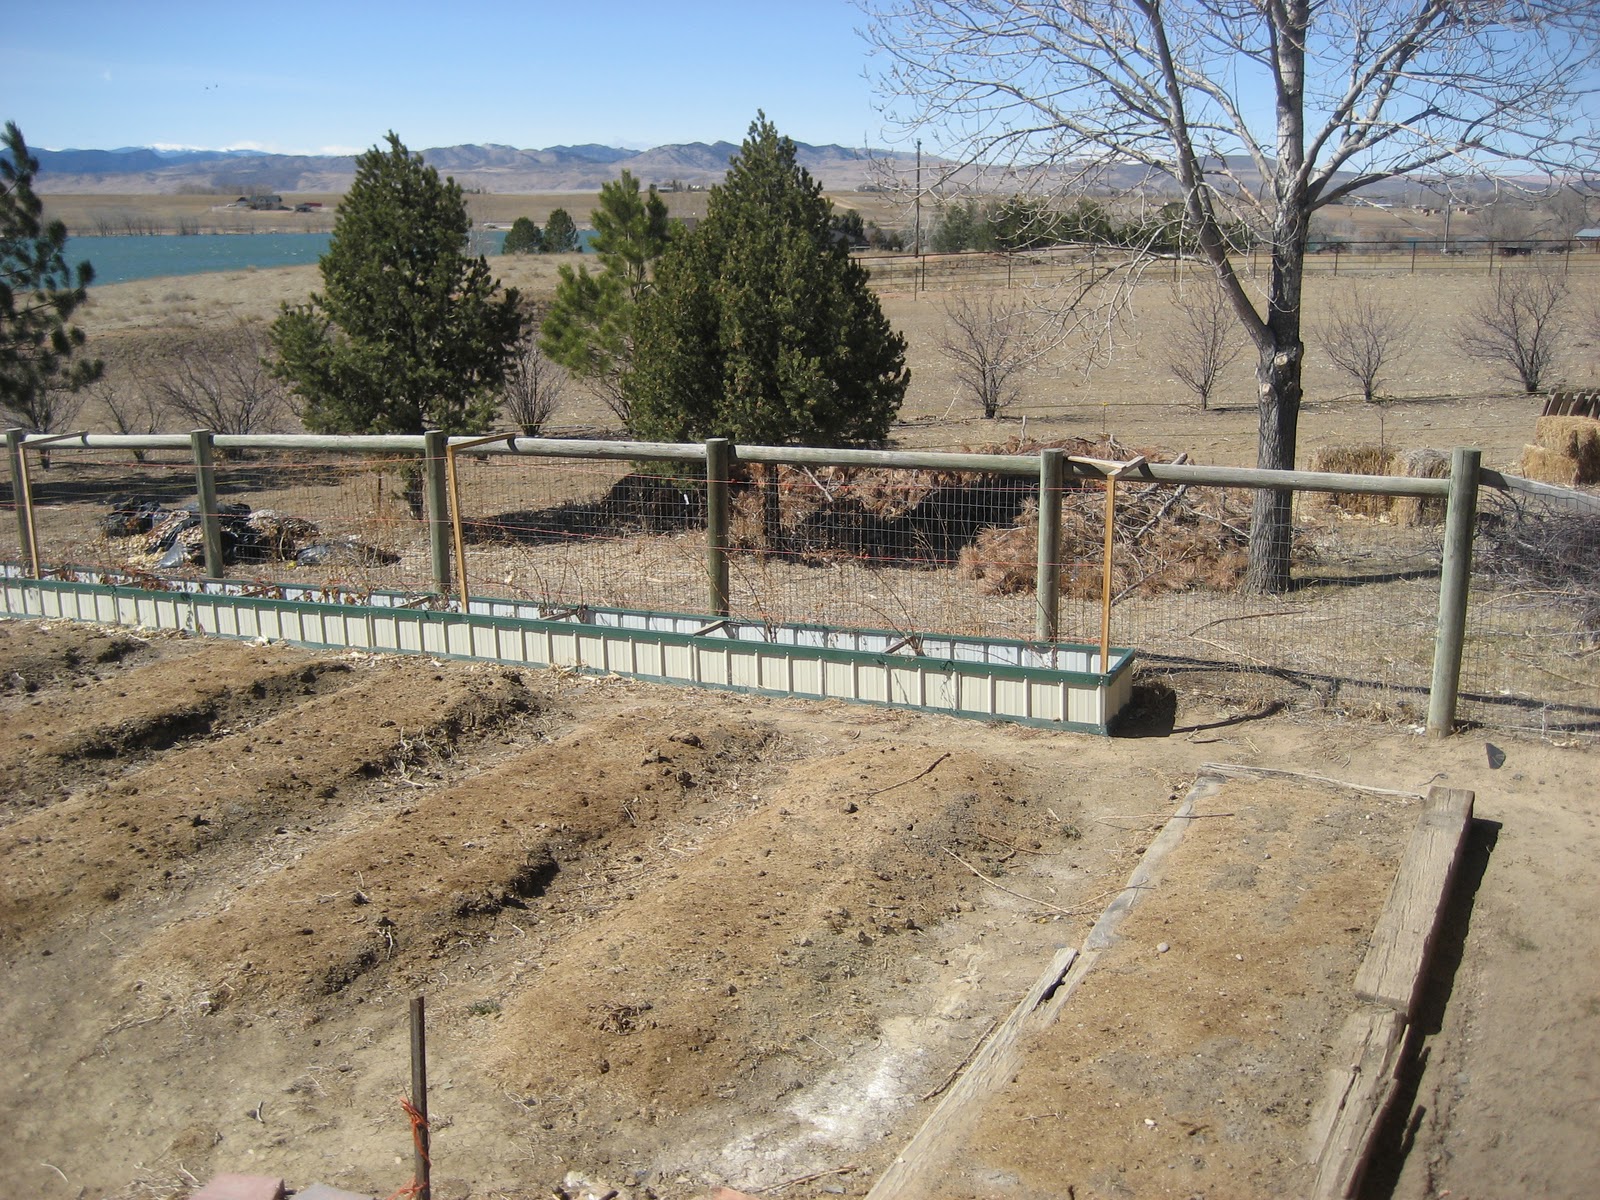
Grass: We decided to try planting some grass seed in the area where the ducks will live and forage, in hopes it will be better for them. One advantage in the delay of the ducks is that it may have more time to get established and growing before they to out there. Tim cleared the area, broke up the soil a bit and planted the seed yesterday.
Rain: It finally RAINED! It has been so very, very dry this winter, it was exciting to hear some thunder, see some lightening, and later hear rain on the roof during the night. Not a lot, but it’s something!