
We have recently become Ham Radio Operators, working from our shack here at home. Now that we are off-grid, Tim got to thinking that hams can be very helpful with communications during emergency situations such as wildfires or winter storms. When there is no cell or landline phone capability, no internet and no power, hams can still operate with radio waves as long as they have power. WE’VE GOT POWER when all else fails, and now that we are hams we can communicate with the outside during these emergency situations. To see how hams can help in this way, here’s a video of Walter Cronkite speaking of ham radio’s contributions in a wildfire that was not far from here several years ago.

TIM (KØCKR) was a ham starting in 1979 when he first took the test & got his license. He maintained the license until he let it expire in 2009, when he had no radio and wasn’t interested in sticking with it at that time. He recently decided to renew his license (which required taking a test) and get a radio.
LAURIE (KØLTH) became interested in the hobby as Tim was studying for his test. When I (Laurie) told Tim I was interested, he was quite surprised. He just hadn’t thought I might want to learn all the electronics & radio wave information necessary to operate as a ham. I’ve never done anything like this before, and it was quite a challenge to do the studying in preparation and then take the exams.
For those who don’t know, there are different levels of ham operators. TECHNICIAN is the beginner class: Technicians are only allowed to operate on a small number of very high frequencies. The GENERAL class is the next step up. Generals can operate on many more frequencies, considered “high frequency” radio bands.
Tim and I are both “Generals”. Since Tim had previously been in the 2nd level, he only had to take the Technician exam and was then “grandfathered” in to the General classification. As a new licensee, I had to take both the Technician and General exams. I studied hard and took both tests on the same day. I was very pleased to pass both tests!
Shortly after Tim got his renewed license, we got a radio (transceiver) and antenna and began listening to and transmitting out to some local repeaters. These repeaters are put up by local clubs to help transmit locally. With all the mountains around, line-of-sight transmission is difficult. These repeaters take ham signals and retransmit them all around the local area. It’s kind of like a “party” line. Everyone on the repeater hears what everyone else is saying. We’ve joined one of the local ham radio clubs and have begun meeting a few of the people we are hearing over the repeater. The main topics of discussion for most of these hams are antennas, radios, how strong their signal is, and so on. Some of them do various contests to see how many people they can contact and how far away they are. Some of them participate in climbing to mountain tops and seeing how many people they can reach using line-of-sight, and how far these people can receive their signal.
In addition to local communication, we are now able to receive & transmit all around the world. It’s amazing how these radio waves work! One thing that’s great about our location is that we have plenty of room on our 40 acres for antennas, and no homeowner restrictions to keep us from putting them up. A couple of weeks ago a friend came to help us put up a temporary “dipole” antenna (just a couple of wires strung between two trees and hooked together. This allowed us to hear and communicate with people all over the states, and even Italy and Slovenia!

In the past couple of days Tim and I put up a “horizontal loop” antenna, which is a loop of wire about 300 feet long attached to six of our pine trees. The loop is about 35-40 feet high. This will now allow us to transmit on many more bands, all around the world. It was rather challenging to get it up into the trees that high, but we did it (well, mostly Tim–I helped).


Perhaps in the future there will be more updates on our ham experiences. We look forward to meeting more people and becoming available to help with communications in emergency situations.
**UPDATE!**
In the past few days I (Laurie) have been able to contact six different countries (including U.S.)! I’ve spoken with other hams in Canada, Russia, Spain, Slovak Republic, and Indonesia. Usually they are short conversations with people trying to make several contacts, but some speak at more length than others. Most hams are men, and they are very interested to hear any woman making contact. Women are called “YL” (Young Lady). A common good-bye said by hams is “73”, meaning “best wishes” or “best regards” or something like that. But many will tell me “88”, which means “hugs & kisses” or something along those lines. It’s a kick.
There has also been a contest going on over the 4th of July weekend by the original 13 Colonies. Each of those states tries to make as many contacts as possible, and they are on the air often. They also are glad to hear a “YL” respond!







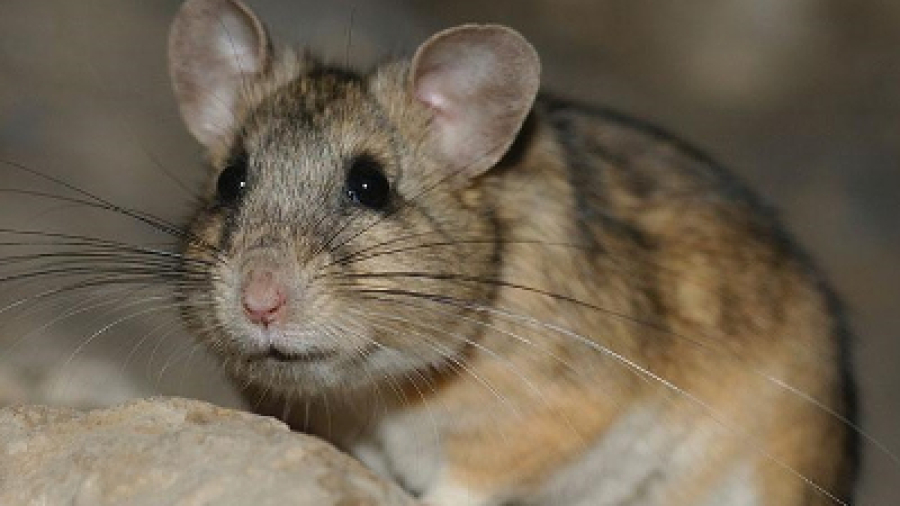
 Early in May, we began to see evidence of chewing on some of the freshly transplanted seedlings, particularly things like the broccoli, cabbage & cauliflower planted in the beds around the perimeter. We’d always known mice would be able to fit in through the stucco netting which surrounds the garden perimeter beds, but we hadn’t experienced problems with them previously. This year they came with a vengeance. We put out bait stations as well as snap traps, and began catching 1-4 mice each night. Eventually there weren’t as many caught, and after the plants were larger, the mice didn’t seem to gnaw on them as much. But, almost nightly we reset the traps and each morning went out to check them, unsnap them, and retrieve any dead mice.
 The first inkling that we may have pack rats was May 30th, when I discovered this neatly laid pile of onions next to the onion bed, and these potato stems and cabbage leaves dismembered from their plants. (Fortunately these plants all survived!) I didn’t think that the mice would be able to do this, and the only thing I could think of was that it may be pack rats, known to be in our area. Below are photos of some of the damage found that day.
 In addition to the damaged plants, the four bait stations we’d left out for the mice were gone! Not just the bait, the whole plastic bait station. Gone! Clearly, this had to be a pack rat family.
 Eventually, Tim found a DIY rat bait station idea online. He made a couple of these, put them out, and the first night the PR’s got into them and ate all 5 blocks of the bait out of each one. It’s large enough for the pack rats to get in, but not the cat, dog, or ducks. The bait blocks are suspended from the top on a rod or wire, each one falling to the bottom as the bottom one is eaten. After the first two were successful, Tim made about four more, and they are scattered all around out property. At this point, we seem to have taken care of the problem.
 What about the cat, you ask? She does catch mice, but is locked inside each night (either the RV or a shed) to keep her from becoming coyote bait. We had been keeping her in our RV at night to keep the mice away, and it worked great….until she got bored and started tearing up the edge of the sofa. Now she’s in the shed at night. After moving the cat out of the RV, the pack rats found a new cozy home inside. We discovered they’d gotten in to the kitchen cabinets under the sink. After cleaning it all up & removing all the kitchen wares, Tim put another big trap out by the side of the RV, and they haven’t been in there since. Or else, they’re really neat and don’t poop or leave weeds laying around.
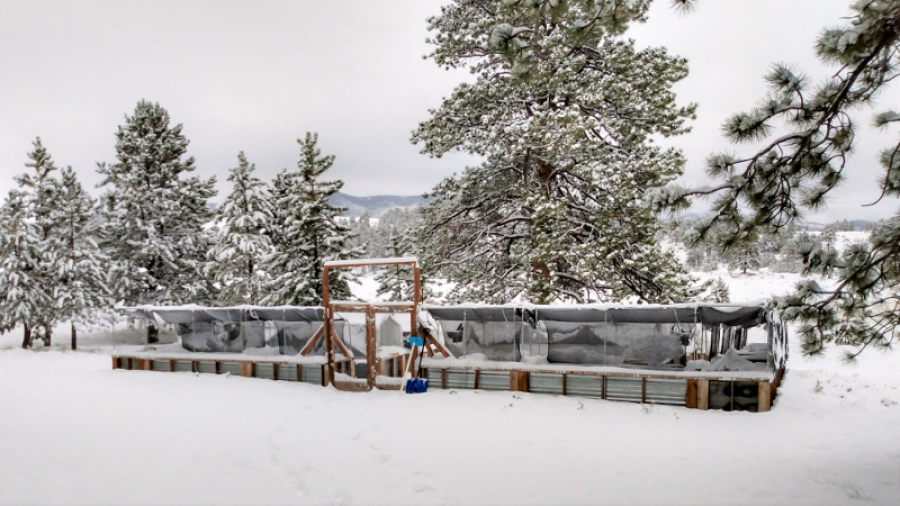

 We had plenty of warning and had planned as best we could to harvest whatever could be harvested and protect any thing else that might be saved. Some things will be lost. I’m hopeful that the remaining brassicas, lettuces, spinach, and root vegetables will be okay and may even produce more growth. The potatoes, tucked underground, will be fine, but I doubt that the plants will grow any more. A couple of cauliflower were planted in July and were still small–I will be interested to see if they survived. Obviously the zucchini pictured here did not survive.
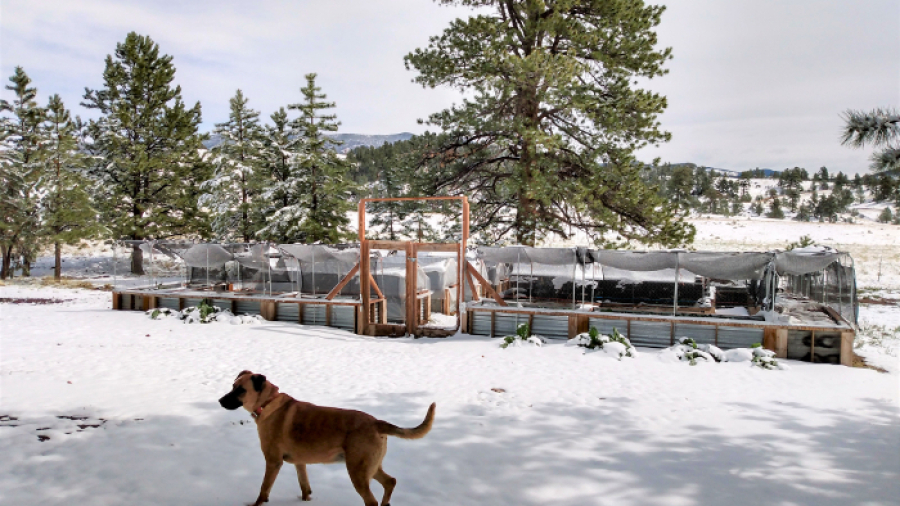
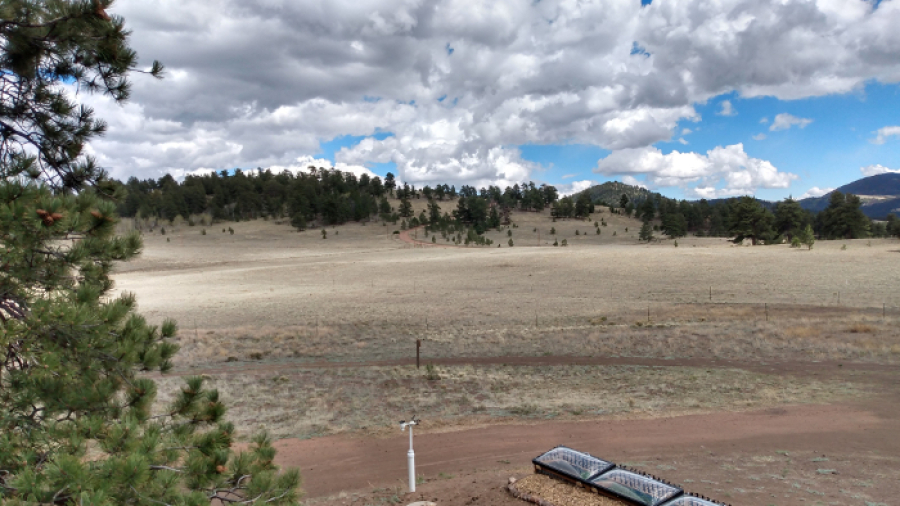

 This is the first year we’ve ever experienced a problem with mice in the garden. We always knew that mice would be the only thing that might get through our defenses..it just hadn’t happened. On May 5 I went out to discover that 2 cabbages and 2 broccoli had all been chewed pretty well. Guessing it may have been mice, we put out a trap the next night we didn’t catch one, but the trap had been sprung. The third broccoli in that bed, and the two cauliflower were chewed. The following night sure enough, one squashed mouse was found in the morning. We began setting two traps nightly and set out some D-Con bait traps as well. I cut out the bottoms of some plastic bottles and began setting them over the plants at night. The mice also ate some lettuce & bok choy, but not the spinach or the chinese cabbage. Surprisingly, one morning I found that they’d eaten several onions in another area at the far side of the garden. I’d read that mice did not like onions–not so! At this time, traps are still set nightly with an occasional casualty, and the D-Con seems to have sent a few mice to our ducks’ pool looking for a drink of water and finding a watery drowning instead. It appears that the cabbage and broccoli survived their torture; however, the two cauliflower were too well chewed to come back. Now, for all things transplanted to the perimeter beds, they are covered with bottles, which seems to work well both to keep out the mice and the cold.