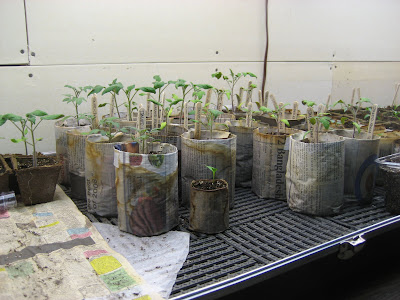
 I made my first soil blocks today! Here’s photos of my first row, and then 4 trays almost done. There are a few recipes around for the soil to use to make the blocks; I used one from my Burpee book that seemed easy. I was glad that I’d seen another one that suggested to screen the compost & peat to 1/4″, because I did that, and I think it helped. I got quite a few of the larger chunks out that way. I had done some reading and found that it will be good to water them from the bottom, but that it’s important not to let them get to soggy by draining off the excess. I was planning ahead and wondering how to do that, and thought I’d need a smaller size tray that I could lift when full of dirt. I got to thinking I could use the aluminum trays they make for cakes & lasagnas. While I was searching at the store for just the right size, I saw some with holes on the bottom that were designed to grill vegetables on an outdoor grill. I got to thinking that with the holes, I
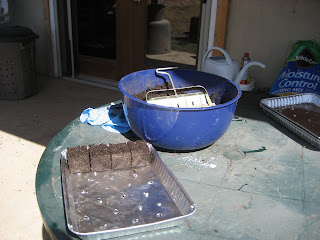
could easily lift out the pan to drain them after they’ve soaked a bit. These pans were more expensive, and I couldn’t find another one just the right size to lay them in while soaking. Then I noticed that there were cake pans with plastic lids, and a set of two pans with two lids were cheaper than the set of two of the pans with no lids. So, I thought I’d drill the holes myself, as you can see. I’ll set the pan inside the lid to water, then lift it out of the plastic lid before it
gets too soggy. The pans easily hold 20 cubes, maybe 24 if I squeeze really tight, but I haven’t tried that yet.
It was fun to make the blocks! The recipes suggested adding enough water to make them mud pie consistency. It wasn’t quite my idea of mud pies, but they seem to be holding together. I jammed the block maker into the stuff 2-3 times “charging the blocker”, then packed it in as tight as I could with my hands until there was some water seeping out before ejecting the blocks. I started 4 pans of 20 cubes today, and plan to do more tomorrow and next week. I’m at about 7 weeks to our last average frost date, and many of the seeds suggest 6-8 weeks before (those I planted today) or 6 weeks before the last frost. My challenge will be where to put them all until they go outside, so I’m being more conservative as to how many of each thing I start. For some plants I’ll start a few indoors, and save more seeds to be seeded directly outside to stagger the harvest. We plan to create another grow light bench this weekend, but it will still be tight!
I like the soil blocker idea! Now I’m sorry I started so many seedlings without it, but it was backordered from England, and I just received it. Next year I’ll be able to do them all with the blockers, if I still like this program through the entire process. Already I’m thinking that the 4″ blocker with the 2″ indentation would be a good idea for these seedlings when they need more space.
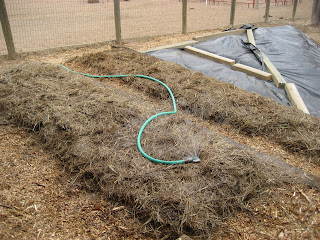
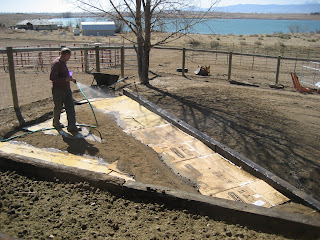
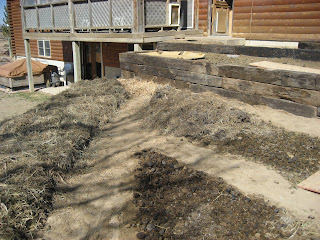
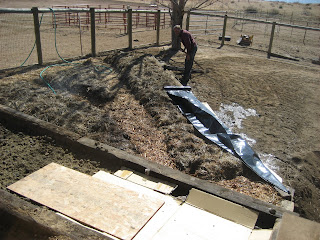
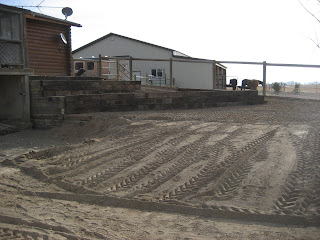
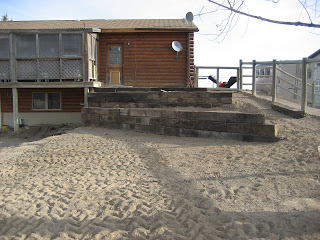
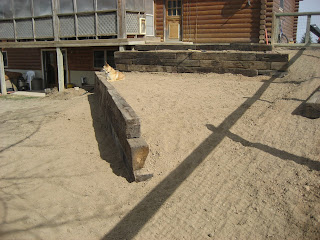
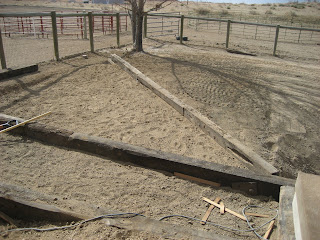
Tim got parts for the tractor, fixed it, and is at it again digging. Now he’s creating a drainage & walking path in the low spot, the center of our yard. The water will go out to pasture from there, if we get a big rain storm. We’re leaving some sloped areas for things that would appreciate the drainage, like strawberries, squash & melons. Tim has one more terraced area to shore up, then we’ll do some more lasagna beds to prepare for planting even though it’s getting a bit late in the season. We’ll just have to amend them if they aren’t “cooked” in time.
 I made my first soil blocks today! Here’s photos of my first row, and then 4 trays almost done. There are a few recipes around for the soil to use to make the blocks; I used one from my Burpee book that seemed easy. I was glad that I’d seen another one that suggested to screen the compost & peat to 1/4″, because I did that, and I think it helped. I got quite a few of the larger chunks out that way. I had done some reading and found that it will be good to water them from the bottom, but that it’s important not to let them get to soggy by draining off the excess. I was planning ahead and wondering how to do that, and thought I’d need a smaller size tray that I could lift when full of dirt. I got to thinking I could use the aluminum trays they make for cakes & lasagnas. While I was searching at the store for just the right size, I saw some with holes on the bottom that were designed to grill vegetables on an outdoor grill. I got to thinking that with the holes, I