COMPOST
A good mountain garden wouldn’t be complete without compost. We compost everything we can to enrich our Colorado soil. Natural compost is the way God created the earth to replenish itself and keep it fertile. It’s amazing.
Countless numbers of gardening websites, videos, books, & articles talk about compost and how great it is for gardens. Using good compost is not specific to high elevation–it’s important for every garden throughout the world. I’m not going into detail here about how compost works or why it’s so great for the garden soil. You can find that information elsewhere.
Our composting method is quite unique. I’ll share how we make it and use it, in case some of you can glean some ideas of how to incorporate compost into your mountain garden plan.
Compost is made with some combination of green (nitrogen) material, brown (carbon) material, water and time. There are different opinions as to how much of each is best. We make it work here without measuring; we just mix the materials we have and it works. Each batch of our compost is made of some combination of the following:
- Kitchen scraps including coffee grounds & filters, tea bags, vegetable scraps, old sourdough discard, eggshells. I do not compost dairy or meat. I keep a small container under the sink to collect these items.
- Garden scraps: discarded leaves & inedible parts from all the vegetables & flowers we grow in the garden & greenhouse.
- Comfrey. We grow lots of comfrey primarily to add to our compost. It grows fast, it’s full of nutrients and is known to be a compost activator.
- Manure. This is usually horse manure, or any good animal manure we can get from neighbors. (Right now we have a pile of aged sheep manure.) Since we no longer have our horses, we have to get manure from neighbors, but there are plenty of animal keepers around who are happy to share. We do not add canine, feline or human manure.
- Duck House shavings, poop & feathers. We also scrape up the duck poop from their yard. We get the wood shavings from a nearby aspen mill, so they’re local and finely shredded. Eggshells can be added to compost, but I normally grind mine up to add directly to the garden beds prior to planting.
- Aspen leaves we rake up and save from nearby groves.
- Wood ash. We don’t have a woodstove, but we occasionally get wood ash from friends. In Colorado we are not allowed to burn slash piles outdoors, so that limits our sources for ash.
We have a small composter that Tim came up with a few years ago. In mid-summer we are able to cook a batch of compost in 1.5-2 weeks. It’ll get up to around 120-130°F in 4-5 days, then after it begins to cool down a bit we mix it up, add water if necessary, and let it cook a few more days. Then, we take it out of the composter and add it to a larger pile contained with wood pallets where it continues to compost until we need it.
OUR COMPOSTING TECHNIQUE
Tumbler: As we gradually collect compost materials such as garden clippings and kitchen scraps we dump them into this horizontal tumbler. Tim originally made this to make the compost, but it didn’t work so well. Now it is used as a “pre” compost collector. It’s nice that it spins to mix everything up. This tumbler drum has holes drilled into the sides for ventilation, as well as holes drilled into the PVC axle. We do not add water to this, it’s usually plenty moist. If it should become too moist or begin to get slimy-yucky, we’ll add some wood shavings, dried leaves or old hay, basically some sort of “brown” material.
Composter: Tim made this just the right size to fit a 4′ skylight we’d gotten at a thrift store to use as a lid. The front panel is easily removed, and our old tractor had a 4′ bucket that fit right into the composter to pull out the compost. Very handy. Our new tractor bucket is too large, but the convenience was nice for the first few years. Now we shovel the compost into the tractor bucket or a wheel barrow.
Making Compost: To make the compost, we layer up 3-4 inches of each: aged manure (usually horse), green & brown clippings from the tumbler, shavings & poop from the duck house, a sprinkling of wood ash, aspen leaves when we have them, and so on. We repeat these layers 3 times, ending with horse manure at the top.
We spray each layer with water as we go, to get it moist but not soggy.
Note: in some locations extra water may not be necessary. We don’t get much rain here, so all the manure & other materials are generally quite dry before adding to the compost. As you continually make compost, you should have a good idea whether to add water or not, and how much you’ll need to add.
Temperature: We add our compost thermometer after the layering and close the lid. We watch the temperature each day with a compost thermometer. It will usually climb to 120-130°F and stay there for a couple of days. Then the temperature will begin to drop. When it’s around 100°F we’ll usually mix it up with a small tiller we have. This breaks up chunks and manure “apples” and makes the compost nice to work with. (I know that many people frown on tilling, but this really mixes it up well and gives the compost a better texture. Our compost seems to be quite healthy despite the tilling.)
Finished Compost: After a few more days, we’ll check to see whether there are still uncomposted pieces of leaves, etc. If it’s “done” or almost done, it has shrunk to about 2/3 the original height in the composter. At this point, we move it to our larger compost storage area where it will mix in with other previous batches of compost and finish composting. This storage bin is not covered. This is Colorado, we don’t get that much rain so we don’t need to worry about it getting too wet, and we’ve never felt the need to cover it. We have never had a problem with wildlife getting into it.
When one batch is done, we start the process all over, and during the latter part of summer & fall there is usually plenty of compost material to make batches every couple of weeks. This year we made 10 batches of compost like this from mid-August to November.
Garden Bed Prep
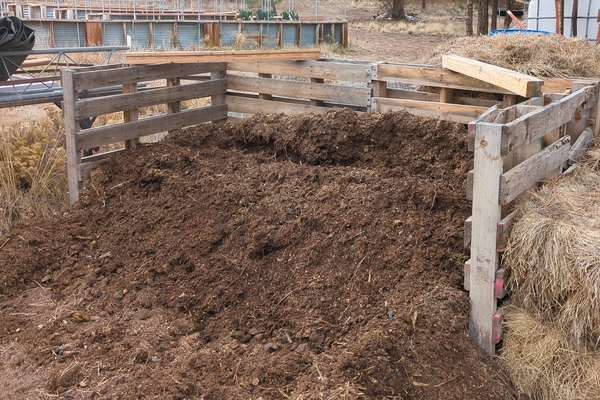
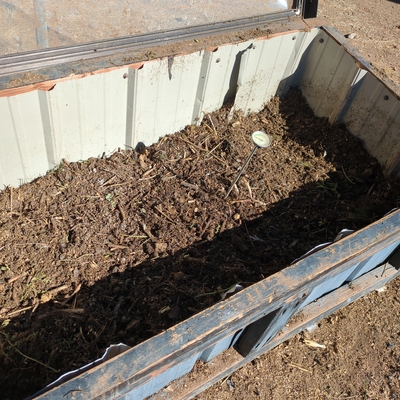
Each fall after the beds have been emptied of their veggies, each bed is covered with a couple inches of our compost. We do not mix it in at this time, but leave it on top of the beds for their winter sleep.
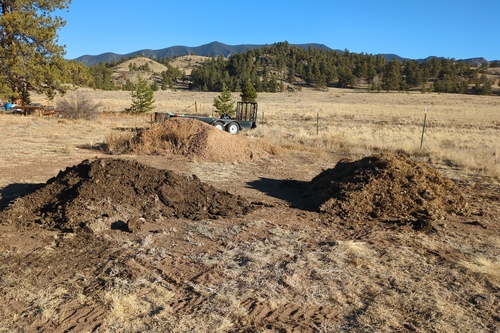
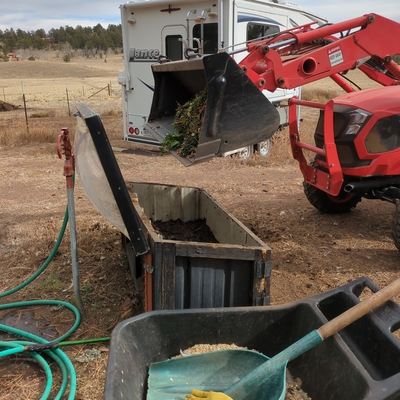
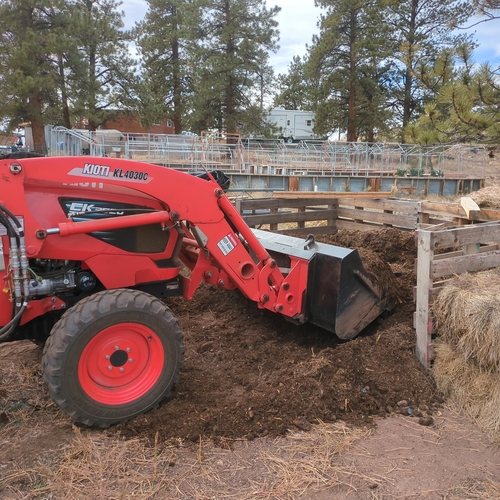
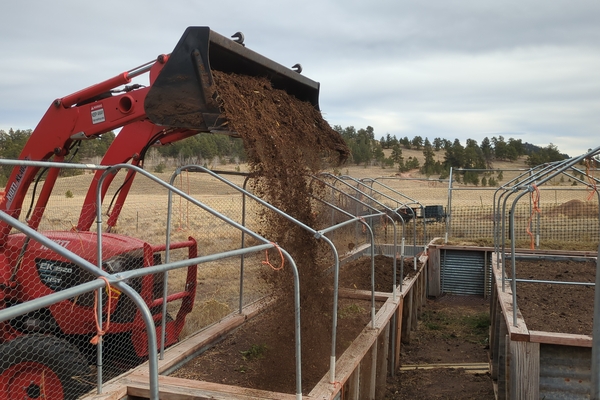
Tim is able to use the tractor to dump the compost into the beds around the perimeter of our garden. When we originally designed & built the garden space, the center aisle was large enough to fit our smaller tractor we had at the time, so Tim could drive it into the garden and shovel the compost from side to side. The new tractor does not fit, so it’s a little more work to wheelbarrow the compost into the center beds, but easy enough. (When designing your garden space, it’s good to make aisles & spaces wide enough to fit wheelbarrows or tractors, depending on what you plan to use.)
If we don’t have enough compost to cover all the beds in the fall, we will either top them off with horse manure or leave them be with nothing for the winter. If the manure is fresh, it will age over the winter here. The snow will usually stay on top of the beds most of the winter. For beds that did not get fall compost or manure, we’ll add finished compost in the spring. We can usually make enough compost in late winter or early spring to top the remaining beds.
Prior to planting in the spring, the fall compost layer is mixed in the top 8-10″ of soil, along with any other amendments required for whatever vegetables will be grown in that bed.
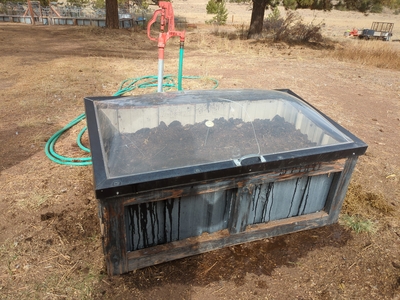
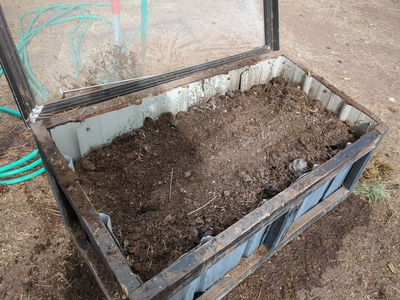
Greenhouse: Our compost is also added to the greenhouse raised beds to replenish that soil between plantings. Since the greenhouse is used year-round, and the various areas are replanted over & over again, often with little to no rest in between, the compost really helps.
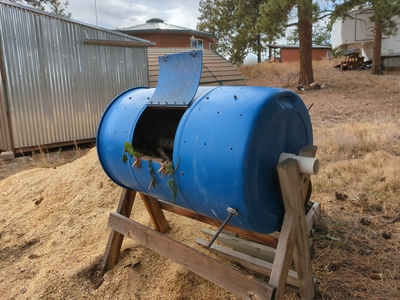
Vermicompost: In addition to the compost described here, we also keep a bin of vermicompost and add that to the greenhouse between plantings. We don’t make or keep a lot of the vermicompost, and rarely have enough to add it to the outdoor garden, but occasionally can get a few worms & their castings out to those beds as well.